Du hast gerade deine Teammitglieder zu Todoist eingeladen und bist bereit, Fortschritte bei den längerfristigen Projektmeilensteinen zu erzielen. Lerne diese Best Practices und wende sie an, um Teamaufgaben und die Zusammenarbeit in Todoist zu verwalten.
Starte die Teamarbeit mit ein paar neuen Projekten
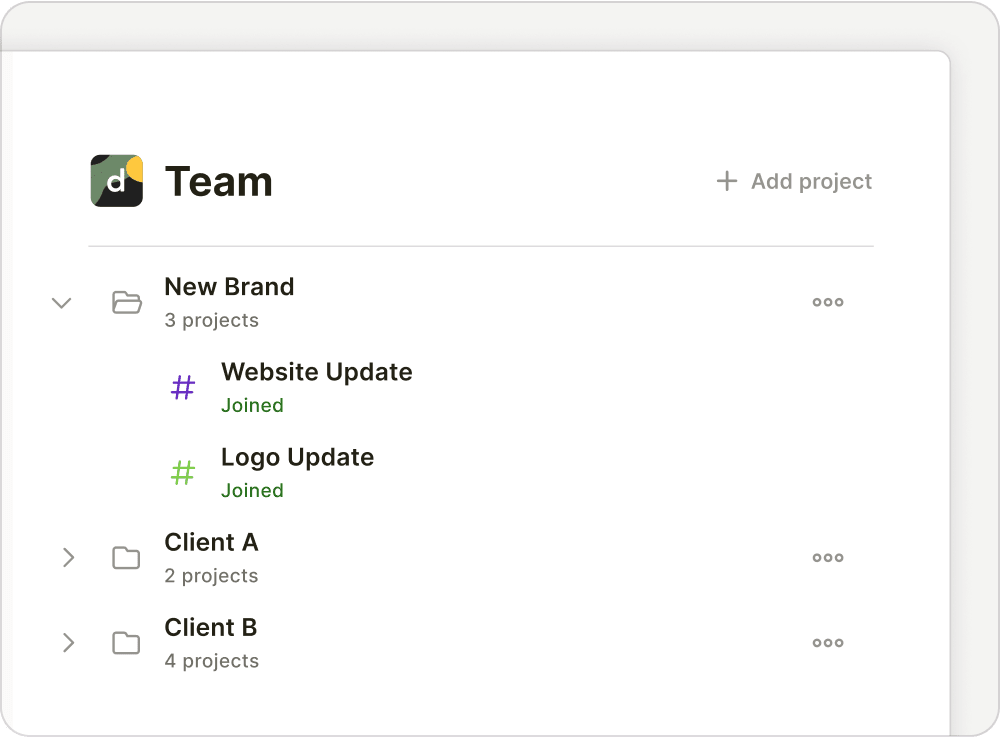
Wähle ein oder zwei Projekte mit hoher Priorität aus, an denen dein Team arbeitet, und füge diese Projekte deinem geteilten Workspace hinzu. Füge relevante Aufgaben hinzu, die dir in den Sinn kommen, damit deine Teammitglieder sofort wissen, woran sie arbeiten müssen, sobald sie Todoist öffnen.
Kleiner Tipp
Teammitgliedern Aufgaben zuweisen
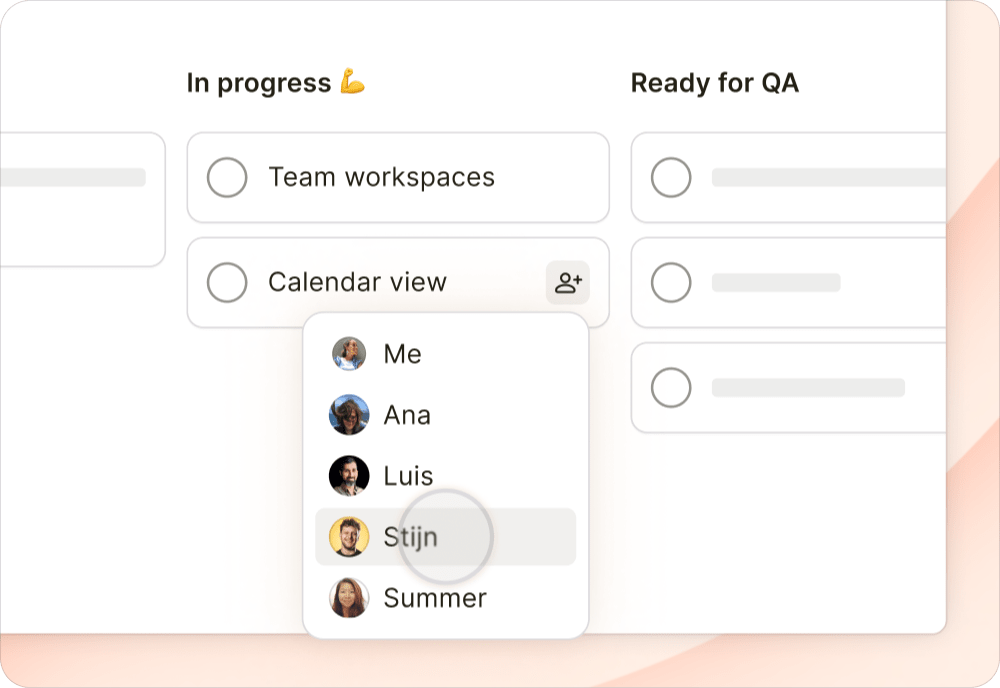
Weise jede einzelne Aufgabe in einem Projekt einem Teammitglied zu, damit alle wissen, wofür sie verantwortlich sind. In Todoist kannst du einer Aufgabe nur eine Person zuweisen, sodass keine Zweifel darüber bestehen, wer für welche Aufgabe verantwortlich ist.
Du möchtest mehreren Personen dieselbe Aufgabe zuweisen? Das sind einige deiner Optionen:
- Wenn eine Aufgabe mehrere Schritte umfasst, unterteile sie, indem du Unteraufgaben hinzufügst. Weise dann jede Unteraufgabe einem Teammitglied zu.
- Wenn mehrere Personen dieselbe Aufgabe erledigen müssen, dupliziere die Aufgabe und weise jede Kopie dem zuständigen Mitglied zu.
- Benachrichtige die zuständigen Personen in einem Aufgabenkommentar, damit sie über den Status und den Fortschritt der Arbeit informiert sind.
Aufgaben nach beauftragter Person sortieren oder gruppieren
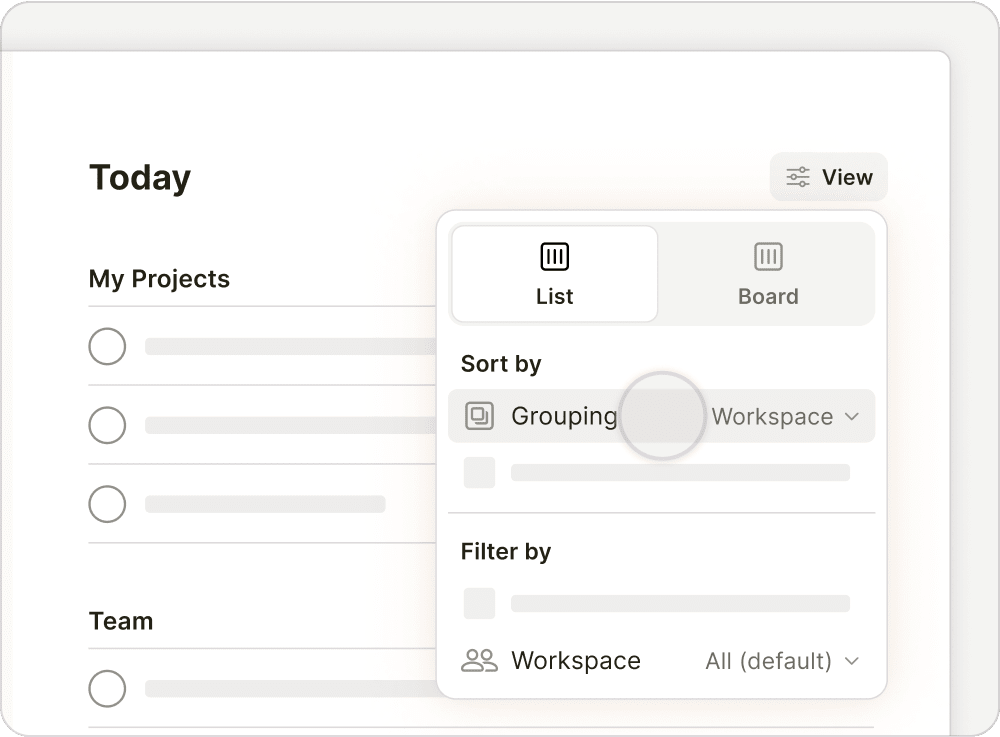
Um dir einen Überblick über die Arbeitsbelastung aller zu verschaffen, klicke oben rechts im Projekt auf Anzeige und verwende die Sortierungs- oder Gruppierungsoptionen, um die Zuweisungen jeder Person anzuzeigen.
Team-spezifische Filter erstellen
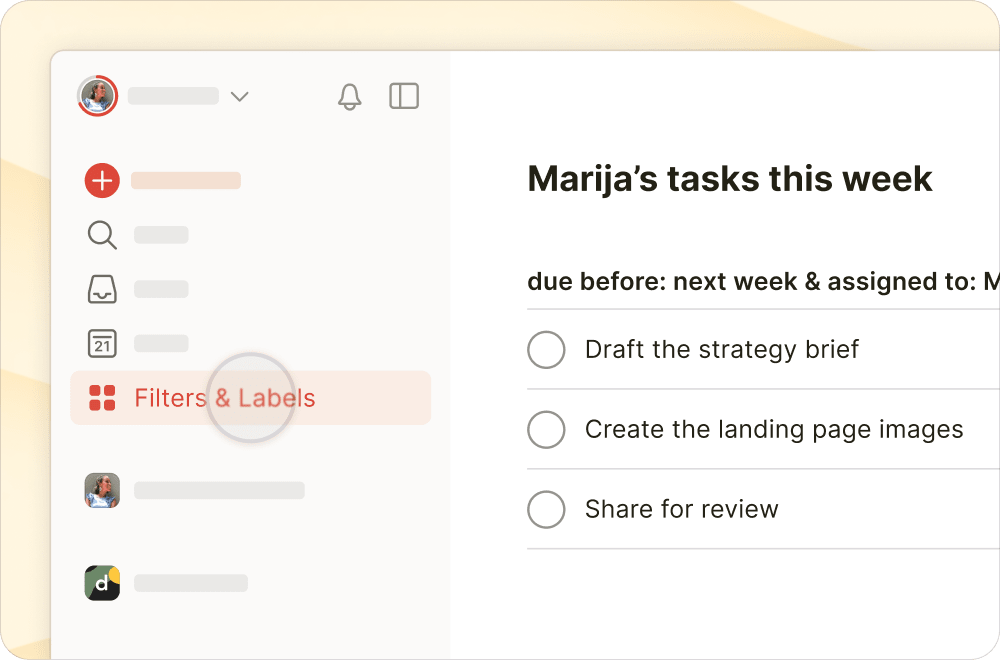
Wenn du nur die Aufgaben sehen möchtest, die einer bestimmten Person zugewiesen sind, erstelle einen Filter und verwende diese Abfrage:
zugewiesen an:Name des Mitglieds
Wenn du die Aufgaben sehen willst, die allen Mitgliedern außer dir selbst zugewiesen wurden, kannst du diesen Filter verwenden:
zugewiesen an:andere oder !zugewiesen an:mich
Mit diesen Filtern kannst du sehen, was zugewiesen wurde, und bekommst einen klaren Überblick darüber, woran alle arbeiten. Wenn du mehr benötigst, findest du hier einige Workspace-basierte Filter, die dir nützlich sein könnten:
| Filterabfrage | Ansicht | Hilfreich für... |
|---|---|---|
| Workspace: [Teamname] & zugewiesen an: mich & nächste 7 Tage | Alle in dieser Woche fälligen Aufgaben, die dir in deinem Team zugewiesen sind | Planung deiner Teamarbeit für die aktuelle Woche |
| Workspace: [Teamname] & zugewiesen von: mir | Alle Aufgaben, die du anderen Personen in deinem Team zugewiesen hast | Verfolgung der Fortschritte bei Aufgaben, die du delegiert hast |
| Workspace: [Teamname] & überfällig | Alle überfälligen Aufgaben in deinem Team | Frühzeitiges Erkennen von Hindernissen, um Pläne entsprechend anzupassen |
Marija · Customer Experience Specialist
Aufgaben mit Daten oder Deadlines planen
Leg Daten oder Deadlines für Aufgaben fest, damit du die Arbeit für dein Team einfach planen und Prioritäten setzen kannst. Gib im Namen der Aufgabe ein Datum in natürlicher Sprache ein (z. B. Morgen Team-Update schreiben) und die intelligente Schnelleingabe erkennt, markiert und fügt das Datum hinzu, wenn du die Aufgabe speicherst. Daten in natürlicher Sprache können auch komplex sein, z. B. jeden 3. Donnerstag vom 5. August bis zum 10. April.
Kleiner Tipp
Wenn du Meilensteine verfolgst, lege mithilfe von Deadlines fest, wann die jeweilige Aufgabe fällig ist. So verringerst du auch das Risiko von Kapazitätsengpässen in einem Projekt.
Wenn du beispielsweise eine Aufgabe zum Einreichen des monatlichen Finanzberichts hinzufügst, wähle das Datum aus, an dem du mit der Arbeit am Entwurf beginnen möchtest. Leg dann eine Deadline fest, bis zu der dein Bericht eingereicht werden muss.
Kontext in Aufgabenbeschreibungen hinzufügen
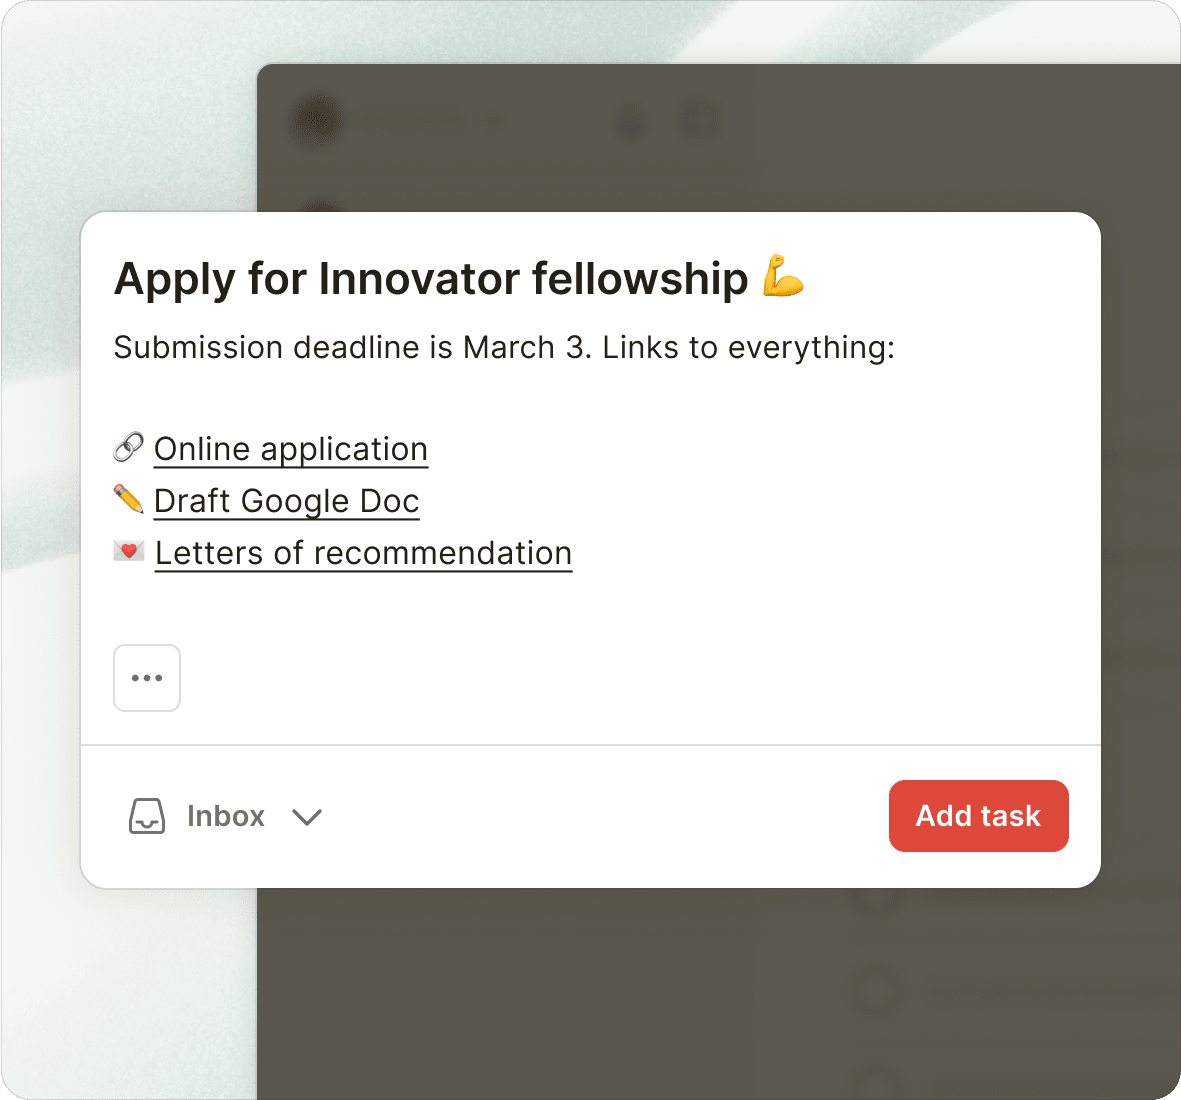
Verwende Aufgabenbeschreibungen, um Links zu Dokumenten und so viele relevante Details wie möglich zu teilen. Anstatt Zeit mit der Suche nach Informationen zu verschwenden, können deine Teammitglieder sofort loslegen. Die Beschreibungen bleiben oben in deiner Aufgabenansicht übersichtlich angeordnet und sind unterhalb der Aufgabe in der Projektliste sichtbar.
In den Aufgabenkommentaren Fragen stellen, Dateien teilen oder Updates veröffentlichen
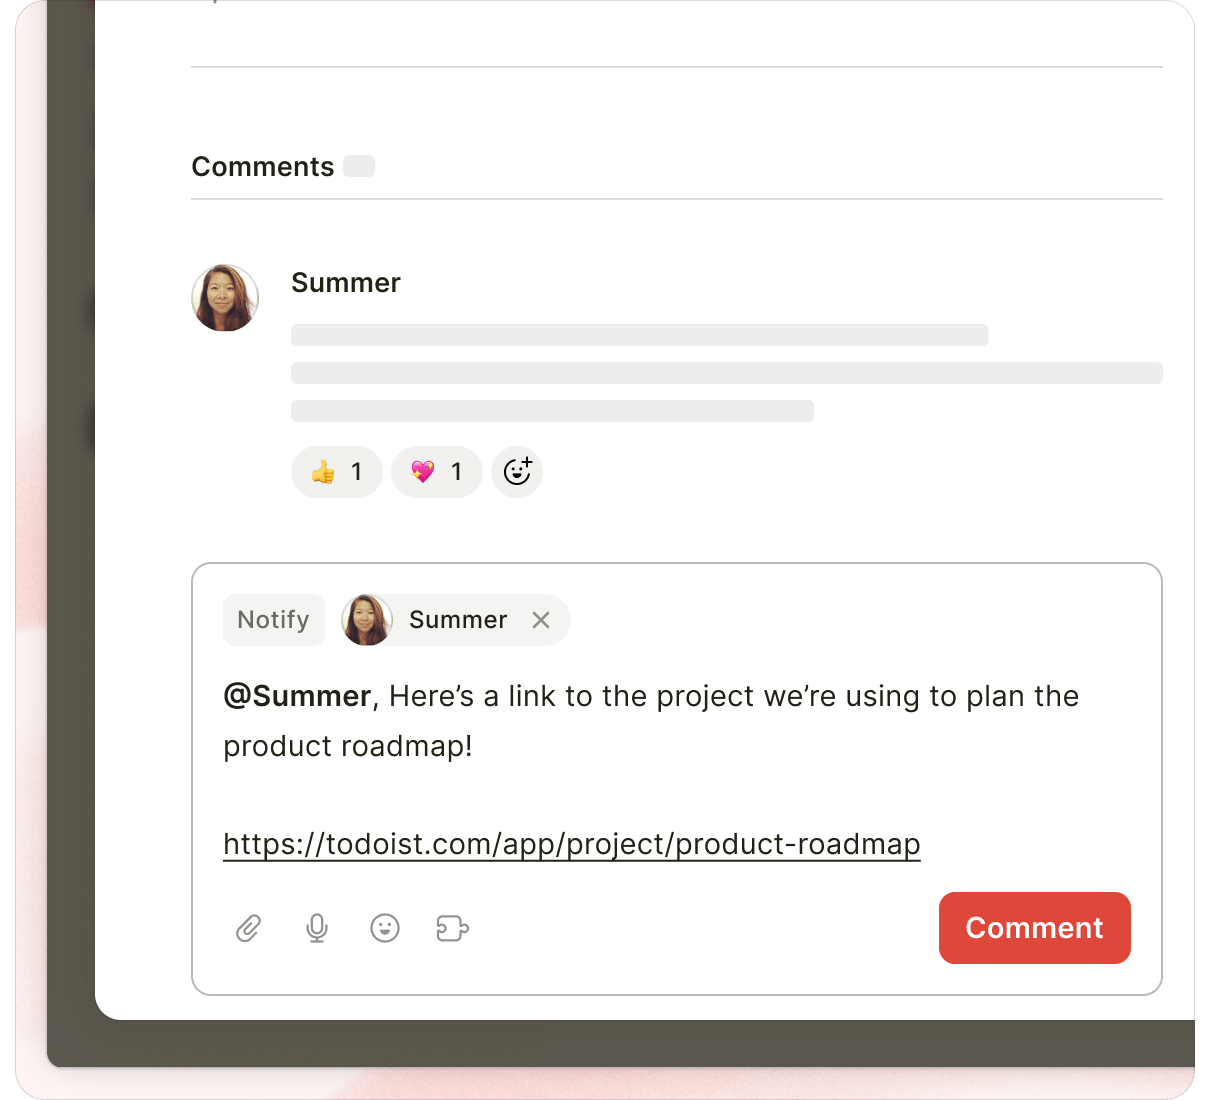
Stelle Fragen, füge Dateien hinzu und gib Status-Updates direkt in den Kommentaren deiner Aufgabe ein. So bleiben alle Infos zusammen mit der Aufgabe gespeichert und gehen nicht in externen Chats verloren.
Vergiss nicht, deine Teammitglieder zu benachrichtigen, damit sie über einen neuen Kommentar oder eine Datei informiert sind, die sie möglicherweise für ihre Arbeit benötigen.
Den Fortschritt deines Teams überprüfen und messen
Todoist bietet dir alle Tools, die du benötigst, um den Fortschritt deines Teams zu überprüfen und zu messen. Mit Teamaktivität kannst du die Anzahl der aktiven, erledigten oder überfälligen Aufgaben genauer betrachten, sodass du Maßnahmen ergreifen kannst, wenn Arbeitsaufgaben ins Stocken geraten sind. Das Aktivitätsprotokoll zeigt alle Aktivitäten in einem Projekt an, von geänderten Terminen bis hin zu neuen Aufgabenkommentaren. Diese Fülle an Informationen hilft dir, fundierte Entscheidungen darüber zu treffen, was angepasst, entfernt oder in den Fokus gerückt werden muss, damit das Projekt ohne Verzug abgeschlossen werden kann.
Kontaktiere uns
Kein Team nutzt Todoist auf exakt dieselbe Weise. Dieser Leitfaden dient lediglich als Einstiegshilfe! Richte dein Team in Todoist ein und experimentiere mit verschiedenen Workflows, um herauszufinden, welche Arbeitsweise für euch am besten funktioniert.
Wenn du Probleme mit der Verwendung dieser Features zur Verwaltung von Teamaufgaben hast, z. B. beim Zuweisen von Aufgaben oder beim Erstellen individueller Filter, kontaktiere uns. Unser Team – bestehend aus Marija, Stef, Marco und weiteren Mitgliedern – hilft dir gern weiter!