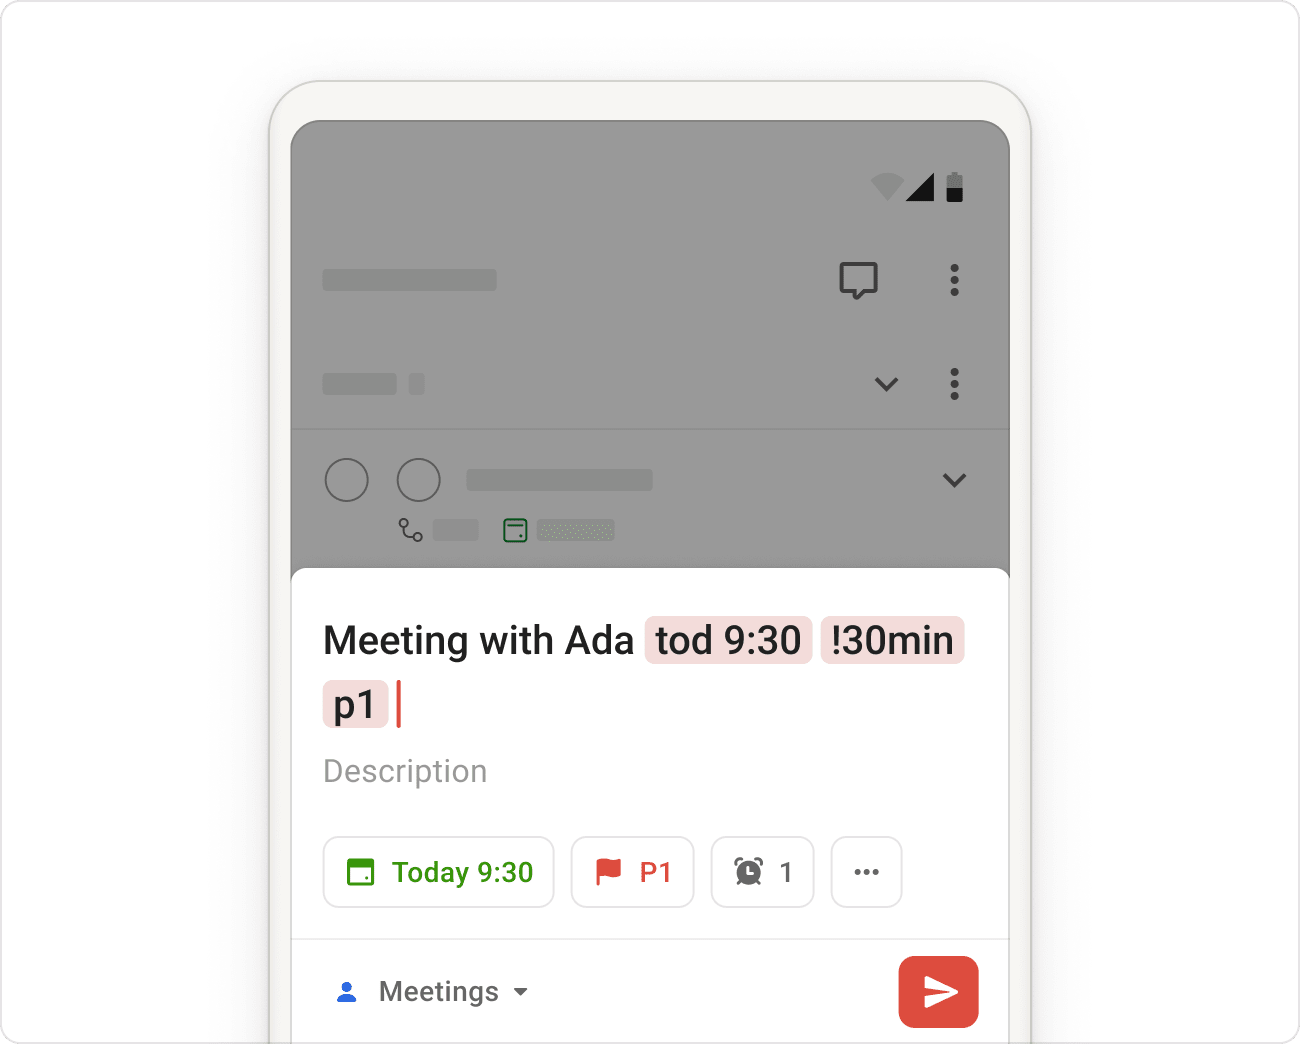
Aunque no hemos encontrado la forma de añadir tareas telepáticamente (aún), la opción para Añadir rápido de Todoist es lo más cercano a eso. Es la manera más ágil de agregar una tarea nueva, completar con fechas, etiquetas, recordatorios y más.

Nota
Utiliza Añadir rápido
Haz clic en Añadir tarea o presiona el atajo de teclado Q para abrir Añadir rápido. Luego, introduce los detalles de la tarea en el campo del nombre de la tarea.
Haz clic en Añadir tarea o presiona el atajo de teclado Q para abrir Añadir rápido. Luego, introduce los detalles de la tarea en el campo del nombre de la tarea.
Toca o arrastra el Botón dinámico para añadir a cualquier lugar de tu proyecto o pantalla. Luego, introduce los detalles de la tarea en el campo del nombre de la tarea.
Toca o arrastra el Botón dinámico para añadir a cualquier lugar en tu proyecto o pantalla. Luego, ingresa los detalles de cualquier tarea en el campo del nombre de la tarea.
Añade detalles de tus tareas
| Añade | Escribiendo |
|---|---|
| Fecha u hora de vencimiento | La fecha y hora en el campo de la tarea utilizando lenguaje coloquial como mañana a las 4 pm o cada dos semanas empezando el martes. Esta es una lista de formatos de fecha que puedes utilizar. |
| Fecha límite | Utiliza lenguaje coloquial para añadir una fecha límite, por ejemplo, {30 de marzo}. Puedes leer más sobre las fechas límite en este artículo. |
| Etiquetas | @ seguida del nombre de la etiqueta. Por ejemplo, @email. Puedes elegir una etiqueta entre las que ya tienes o crear una completamente nueva. |
| Prioridad | p1, p2 o p3 para indicar el nivel de prioridad de la tarea. |
| Recordatorios | ! en el campo del nombre de la tarea, seguido inmediatamente por la hora deseada para el recordatorio. Por ejemplo, a las !14:00 o !30 min antes. Lee más sobre los recordatorios. |
| Colaborador/a | + seguido inmediatamente del nombre de la persona. Por ejemplo, +Lucía. Podrás elegir entre una lista de colaboradores/as del proyecto actual. (Esto solo es posible en proyectos compartidos por lo que primero tienes que elegir un proyecto compartido utilizando el símbolo #, y luego añadir un/a responsable.) |
| Proyecto | # seguido del nombre del proyecto. Por ejemplo, #Trabajo. Podrás elegir entre los proyectos que ya tienes o crear uno completamente nuevo. |
| Sección | Una vez que hayas asignado tu tarea a un proyecto, también puedes especificar en qué sección debe ir la tarea. Solo tienes que escribir el signo / seguido del nombre de la sección. Por ejemplo, si quieres que tu tarea vaya a la sección Admin en tu proyecto Trabajo, puedes escribir #Trabajo /Admin". |
Consejo rápido
Crea un atajo global para Añadir rápido
Cambiar de contexto puede alterar tu concentración, sobre todo cuando el trabajo está distribuido en varias aplicaciones.
El atajo global para Añadir rápido es un superpoder que te permite capturar ideas y tareas en el momento que surjan. Úsalo para registrar tareas sin interrumpir tu trabajo, incluso si estás usando otra aplicación.
En la app de escritorio de Todoist, usa el atajo de teclado global para abrir Añadir rápido mientras la aplicación está minimizada. Usa los atajos de teclado predeterminados o establece los tuyos en la configuración avanzada:
- Haz clic en la App de escritorio de Todoist.
- Haz clic en tu avatar en la parte superior izquierda.
- Selecciona Configuración.
- Haz clic en la pestaña de escritorio.
- Encuentra el atajo de Añadir rápido.
- Haz clic en el icono de descartar .
- Crea tu atajo de teclado global único para abrir la ventana Añadir rápido.
Los atajos para Añadir rápido solo están disponibles en las apps de escritorio. Prueba la aplicación de escritorio.
Los atajos para Añadir rápido solo están disponibles en la app de escritorio. Si buscas una forma rápida de añadir tareas en iOS, añade el widget de Todoist.
Los atajos para Añadir rápido solo están disponibles en la app de escritorio. Si buscas una forma rápida de añadir tareas en Android, añade el widget de Todoist.
Obtén ayuda
Si tienes problemas para usar la opción de Añadir Rápido o el atajo de teclado global en Todoist, ponte en contacto con nosotros. Nosotros - Omar, Stacey, Carol, o cualquiera de nuestros otros compañeros de equipo - esperamos poder ayudarte.