Boards are a powerful way to organize and visualize Todoist projects.
From weekly meal plans to five-year business strategies, boards provide a bird's-eye view of your progress and help you get work done.
With the board layout, you can:
- Add and rearrange sections.
- Use sections to represent phases of the project.
- Drag tasks to relevant sections.
- View completed tasks.
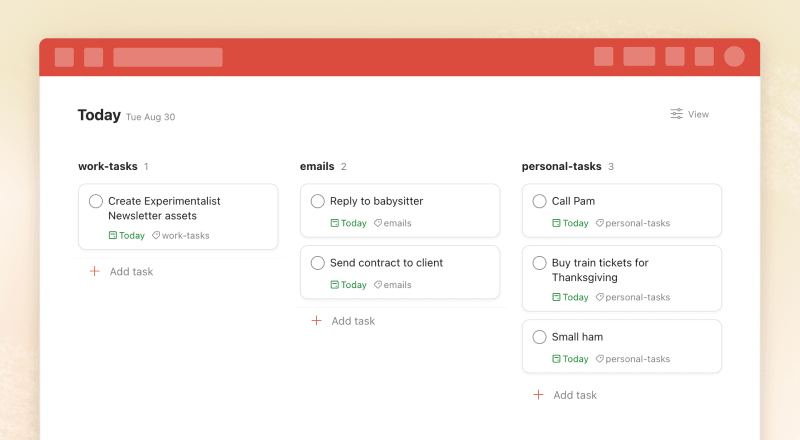
In the project, tasks are displayed as cards. Each section is displayed as a column. Tasks that don’t belong to any section appear in the default “No Section” column.
When the board layout is turned on, it syncs across devices:
| Todoist for iOS | Todoist for Android |
|---|---|
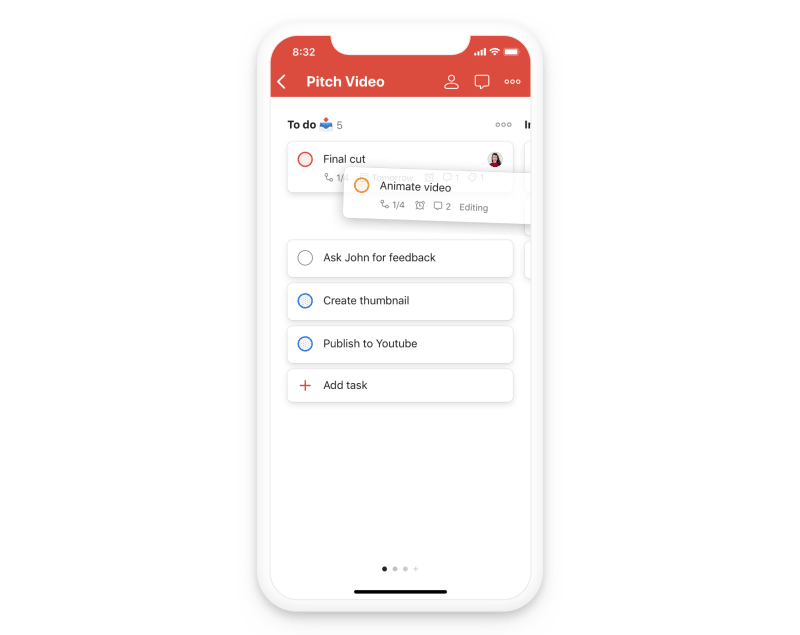
| 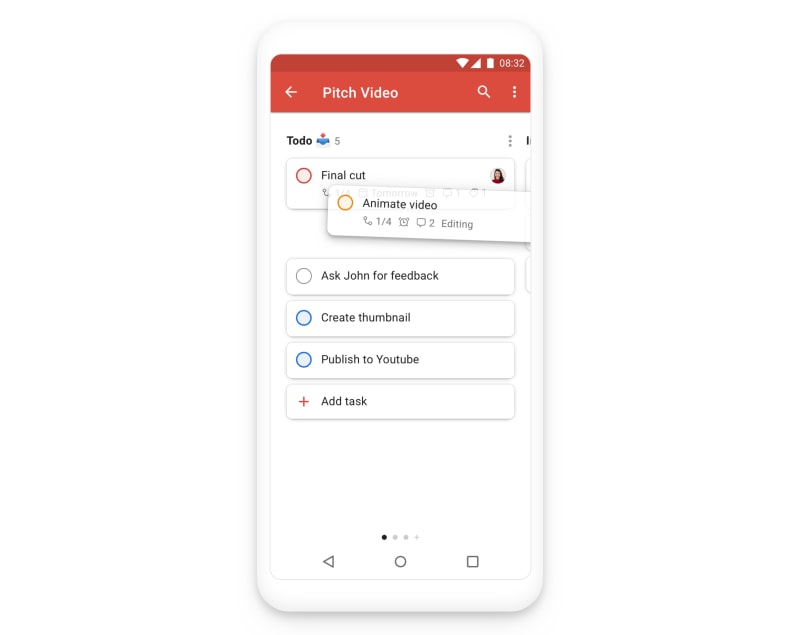
|
Select the board layout
When creating a new project, select Board in the View menu.
To turn on the board layout for an existing project or view:
- Open Today, Upcoming, or any project, label, or filter from the sidebar.
- Click the view icon in the top-right.
- Select Board.
Quick tip
When creating or editing a project, select Board in the View menu to turn on the board layout.
If you're turning on the board layout for an existing project or view:
- Open Today, or any project, label, or filter.
- Tap the three dots icon in the top-right.
- Tap View.
- Select Board.
- Tap Done.
Warning
When creating or editing a project, turn on the board layout right away by selecting Board under the View option.
If you're turning on the board layout for an existing project or view:
- Open Today, or any project, label, or filter.
- Tap the three dots icon in the top-right.
- Tap View.
- Select Board.
- Tap Save.
Warning
Switch from the board layout
- Open Today, Upcoming, or any project, label, or filter from the sidebar.
- Click the view icon in the top-right.
- Select List or Calendar (Pro or Business users only).
- Open Today, or any project, label, or filter.
- Tap the three dots icon in the top-right.
- Tap View.
- Select List or Calendar (Pro or Business users only).
- Tap Done.
- Open Today, or any project, label, or filter.
- Tap the three dots icon in the top-right.
- Tap View.
- Select List or Calendar (Pro or Business users only).
- Tap Save.
Create a new section in the board layout
- Scroll through your existing sections to the far right and click the Add Section button, or simply press the s key to add a new section to the end. Alternatively, hover between existing sections and click the Add Section button to add a new section in that spot.
- Type your section name.
- Click Add Section or press Enter to save.
- Swipe through your existing sections to the far right.
- Tap the Add Section button at the top. Alternatively, tap the three dots icon in the top right-hand corner and select Add Section.
- Type your section name.
- Tap the submit button to save.
- Swipe through your existing sections to the far right.
- Tap the Add Section button at the top. Alternatively, tap the three dots icon in the top right-hand corner and select Add section.
- Type your section name.
- Tap the submit button to save.
Reorder sections in the board layout
- Hover over a section name.
- Drag and drop your section to a new position in a project.
- Long press a section name to activate the Reorder Section menu. Alternatively, tap the three dots icon next to a section name and select Reorder Section.
- Drag and drop sections in the order you need.
- Tap the Save button in the top right-hand corner to apply the change.
- Long press a section name to activate the Reorder Section menu. Alternatively, tap the three dots icon next to a section name and select Reorder Section.
- Drag and drop sections in the order you need. It will be applied right away.
Create tasks in the board layout
- Click the + Add task button in a section where you would like your task to be, or use Quick Add by clicking the + icon in the top-right corner. Alternatively, you can press the a key to add a new task to the first available column.
- Type your task name and apply any parameters (e.g. a due date, priority, label etc.). You can also use the / shortcut to add a task to a specific section from anywhere.
- Click the Add Task button to save your new task.
- Tap the + Add task button in a section where you would like your task to be. Alternatively, drag the + Add task button to any position between your existing tasks to insert a new task there.
- Type your task name and apply any parameters (e.g. a due date, priority, label etc.). You can also use the / shortcut to add a task to a specific section from anywhere.
- Tap the submit button to save your new task.
- Tap the + Add Task button in a section where you would like your task to be. Alternatively, drag the + Add Task button to any position between your existing tasks to insert a new task there.
- Type your task name and apply any parameters (e.g. a due date, priority, label etc.). You can also use the / shortcut to add a task to a specific section from anywhere.
- Tap the submit button to save your new task.
Reorder tasks in the board layout
Rearrange tasks by dragging them within the section, or from one section to another.
If a task has sub-tasks, they aren't visible in the board layout and can't be reordered in the same way. Instead, open the task in the task view and reorder the sub-tasks.
Quick tip
FAQ
Yes, the selected layout is synced for everyone in the project; if someone switches to a different layout, it will switch for everyone else.
Yes, any changes you make in the board layout are synced for everyone in the project.
Yes, it is possible to select multiple tasks in the board layout on all platforms.
It’s not currently possible. When printing in the board layout, your project will be automatically rendered as a list. We may implement a board layout for printing in the future.